

DESCRIÇÃO EM PORTUGUÊS BREVEMENTE DISPONÍVEL
Se tiver alguma dúvida neste produto não hesite em contactar-nos
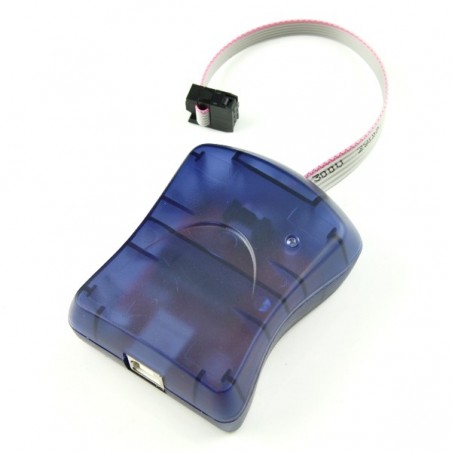
Officially supported by Arduino IDE, we can burn Arduino bootloader onto chips, and practically program any Atmel AVR microcontroller by this powerful AVR ISP programmer.

Summary
1. Download driver, unzip and install
2. When you see “USBtinyISP AVR Programmer” in Device Manager, the USBtinyISP is ready to use
3. There's a jumper sticking out near the USB cable, PWR . When the jumper is in place (connecting the two wires) then that means that the USBtinyISP is providing 5V power to the device being programmed. If you don't want to power the device then just take the jumper out. We will need the jumper in place when burning bootloader for Arduino
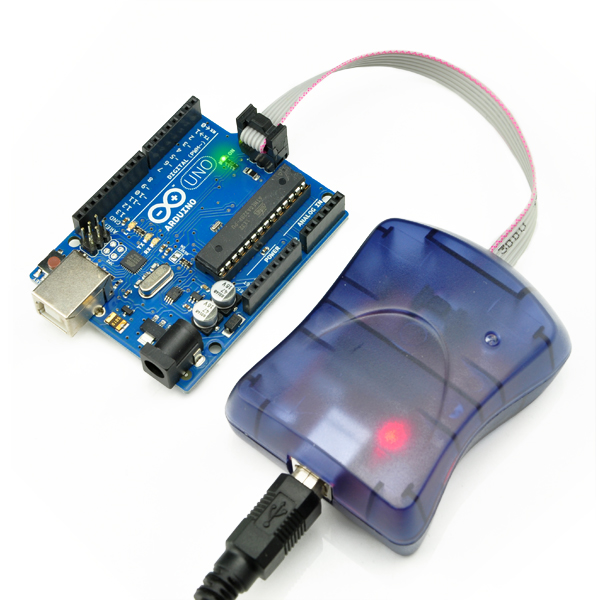
4. Connect USBtinyISP and ICSP of Arduino with the 6-pin cable included. Then connect USBtinyISP to computer by USB cable (A to B type), this cable is not included, but we provide it when you buy our Arduino Duemilanove .
5. After the hardwares are connected, we can start the Arduino IDE. Under the list of “Tools”->“Board” , choose your Arduino version. Then click “Tools” -> “Burn Bootloader” -> “w/ USBtinyISP” to start burning Arduino bootloader
6. During burning, you will see the “BUSY” Led flashing
7. It will take awhile to burn (but still faster than USBasp ). You will see “Done burning bootloader” at Arduino IDE when it is done.
Package Content:
1 x USBtinyISP AVR ISP Programmer

