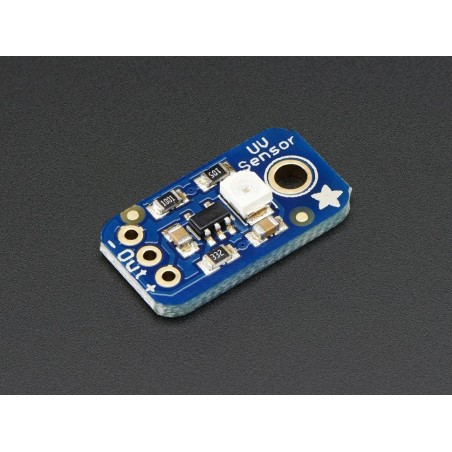


Sensor usa um fotodiodo de UV que pode detectar a gama de 240-370nm de luz (que abrange UVB e a maior parte do espectro UVA) com saída analógica.
DESCRIÇÃO EM PORTUGUÊS BREVEMENTE DISPONÍVEL
Se tiver alguma dúvida neste produto não hesite em contactar-nos.
*Atenção: as imagens são meramente ilustrativas.
Extend your light-sensing spectrum with this analog UV sensor module. It uses a UV photodiode, which can detect the 240-370nm range of light (which covers UVB and most of UVA spectrum). The signal level from the photodiode is very small, in the nano-ampere level, so we tossed on an opamp to amplify the signal to a more manageable volt-level.
This sensor is much simpler than our Si1145 breakout, it only does one thing and gives an analog voltage output instead of requiring a complicated I2C setup procedure. This makes it better for simple projects. It also has a 'true' UV sensor instead of a calibrated light-sensor. To use, power the sensor and op-amp by connecting V+ to 2.7-5.5VDC and GND to power ground. Then read the analog signal from the OUT pin. The output voltage is: Vo = 4.3 * Diode-Current-in-uA. So if the photocurrent is 1uA (9 mW/cm^2), the output voltage is 4.3V. You can also convert the voltage to UV Index by dividing the output voltage by 0.1V. So if the output voltage is 0.5V, the UV Index is about 5.
Please note, our UV LEDs are 400nm, outside the range of this sensor, so if you're trying to test this sensor, don't use them! A UV tanning lamp or 'lizard-lamp' will work much better.
Details:
Produtos Associados


Sensor usa um fotodiodo de UV que pode detectar a gama de 240-370nm de luz (que abrange UVB e a maior parte do espectro UVA) com saída analógica.
