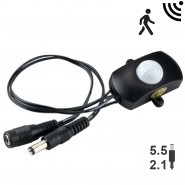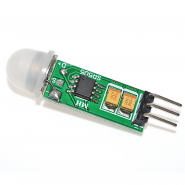
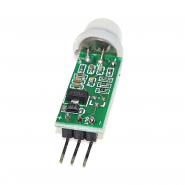
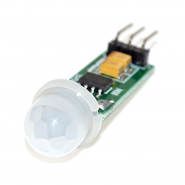
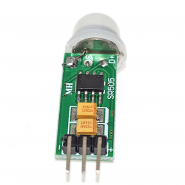
O Módulo Mini PIR de deteção de movimento HC-SR505 utiliza a radiação infravermelha produzida pelo calor corporal para detetar movimento a uma distância de até 3 metros.
DESCRIÇÃO EM PORTUGUÊS BREVEMENTE DISPONÍVEL
Se tiver alguma dúvida neste produto não hesite em contactar-nos.
*Atenção: as imagens são meramente ilustrativas.
PIR (Passive Infrared) Motion Sensors are used to detect motion. They work by detecting the changes in infrared radiation that come from body heat. The sensor has two windows that have different fields of view. Since infrared comes from many different sources, it is differences in infrared between what the two sensor windows detect within a short period of time that is determined to be motion.
This sensor is similar to the HC-SR501, but this is a smaller package with fixed default operation and a bit easier to use whereas the HC-SR501 has a number of options that can be set.
The sensor has a range of 3-4 meters (9-12 feet). When triggered, the sensor output goes HIGH for approximately 6-12 seconds then returns LOW. If motion continues within the sensor range, the module will continue to retrigger and keep the output HIGH until the motion stops for at least 6-12 seconds. The length of the time delay varies between sensors, but is fairly consistent for a given sensor. The sensor has a white plastic dome over it. This dome is used to increase the field of view and to help provide some protection to the sensor. The field of view is approximately 100 degrees.
A common use for the sensor is to detect when a person or animal moves in or out of the sensor range and then take some action such as turning lights on/off, enabling a fan, enabling a Halloween prop or perhaps taking a picture.
Basic operation is simple. Just apply 5V and ground to the module. The sensor output is a logic HIGH when motion is detected and LOW when it is idle. This output can be connected to a uC or it can be connected directly to a relay module that can handle a logic level input in some cases if you just want to turn something on/off based on motion.
When the sensor is first powered on, it learns the ambient IR signature of its environment. Basically it is calibrating itself to its environment so that it can determine what constitutes motion. This takes around 15 seconds.
During that calibration time, false triggers are likely to occur so any triggers during this time should be ignored. It is important that there is not a lot of motion in the sensors view when it is going through its self-calibration as that can interfere with the calibration process.
The module has a very low power draw of about 70uA even when active. Because of the low power requirements, it can be powered off a digital output pin from a microcontroller if desired. If that is done, keep in mind the 15 second startup time.
There is a 3-pin header on the assembly.
1 x 3 Header
PIR Motion Sensor Test Setup
These modules work very well with good sensitivity and are fun to play with as there are a lot of creative things that they can be used for such as home burglar sensing to waking up animated halloween props when trick-or-treaters come up the sidewalk.
The program below uses a simple state machine to monitor the state of the sensor. Basically it just checks on the state of the sensor attached to pin 4 and does something if it sees that the state has changed. In this case, we are just turning an LED on/off that is connected to pin 5 and also sending a status update to the Serial Monitor window. This basic state machine technique allows the microcontroller to be off doing other things in-between checking on the sensor rather than using the more common Delay() type of technique between reading the sensor which blocks all other activity.
The LED is helpful as a visual indicator when wandering around to see how the detection works. As usual, you will need to insert a 220 ohm or so current limiting resistor between the Arduino and the LED.
/*
  HC-SR505 PIR Motion Sensor Module Test

  Basic code for monitoring the output of the sensor and reporting the results
  to the Serial Monitor and by turning an LED on/off.
  We hook the sensor pin up to pin 5 and the LED anode to pin 4.  The LED cathode
  should go to ground via a current limiting resistor.
*/
int const SENSOR_PIN = 5;  // Use any available digital pins
int const LED_PIN = 4;
int state = 0;            //  Current state of the sensor
int lastState = 0;        //  Last state of the sensor

//===============================================================================
//  Initialization
//===============================================================================
void setup()
{
  pinMode (LED_PIN, OUTPUT); // Define LED pin as an output
  Serial.begin (9600);      // Set output window comm rate
}
//===============================================================================
//  Main
//===============================================================================
void loop()
{
  state = digitalRead (SENSOR_PIN);    // Read the current state of the sensor
  if (state != lastState)             // State has changed
  {
    digitalWrite(LED_PIN, state);     // Update the LED with current state
    Serial.print ("Current State: "); // Printout new state
    Serial.println (state);
    lastState = state;                 // Remember last state we were in
  }
}

Produtos Associados
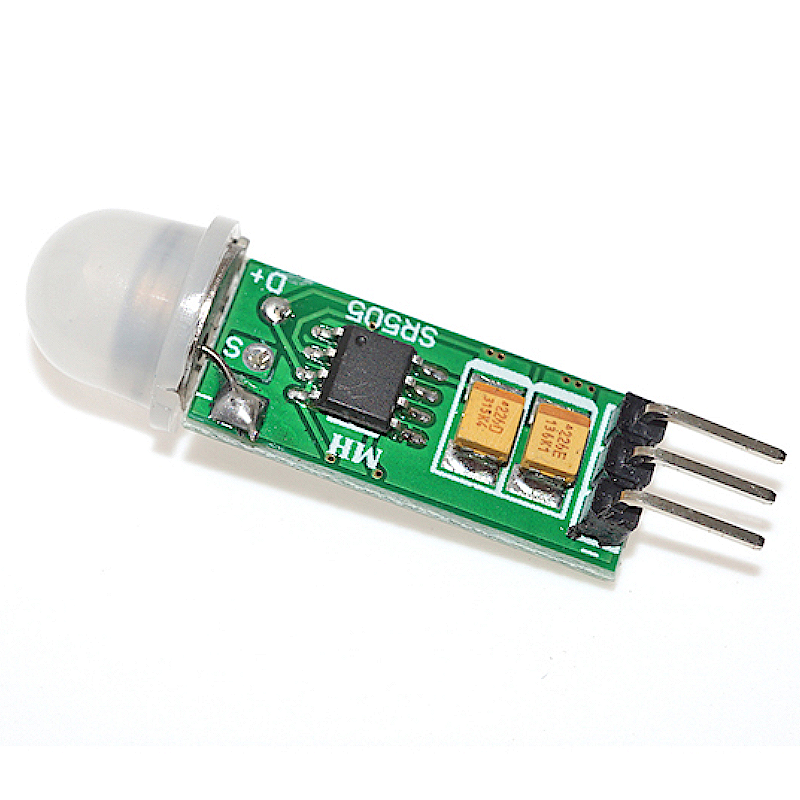
O Módulo Mini PIR de deteção de movimento HC-SR505 utiliza a radiação infravermelha produzida pelo calor corporal para detetar movimento a uma distância de até 3 metros.