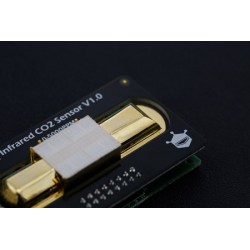
- DESCONTINUADO
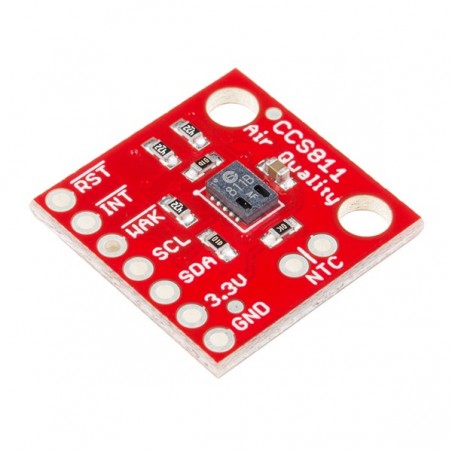

O CCS811 Air Quality Breakout é um sensor de gás digital que detecta uma ampla gama de Compostos Orgânicos Voláteis (TVOCs), incluindo níveis de dióxido de carbono (eCO2) e óxido de metal (MOX).
DESCRIÇÃO EM PORTUGUÊS BREVEMENTE DISPONÍVEL
Se tiver alguma dúvida neste produto não hesite em contactar-nos.
*Atenção: as imagens são meramente ilustrativas.
The CCS811 is supported by only a few passives, and so the breakout board is relatively simple. This section discusses the various pins on the board.
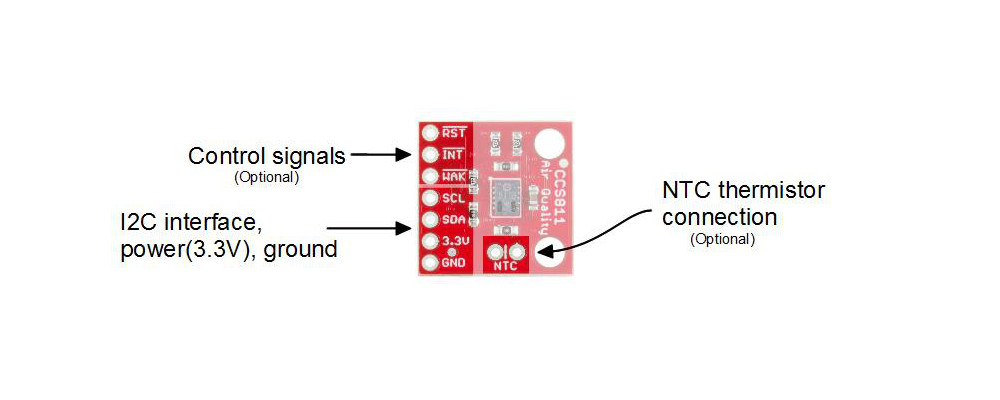
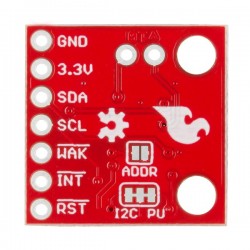
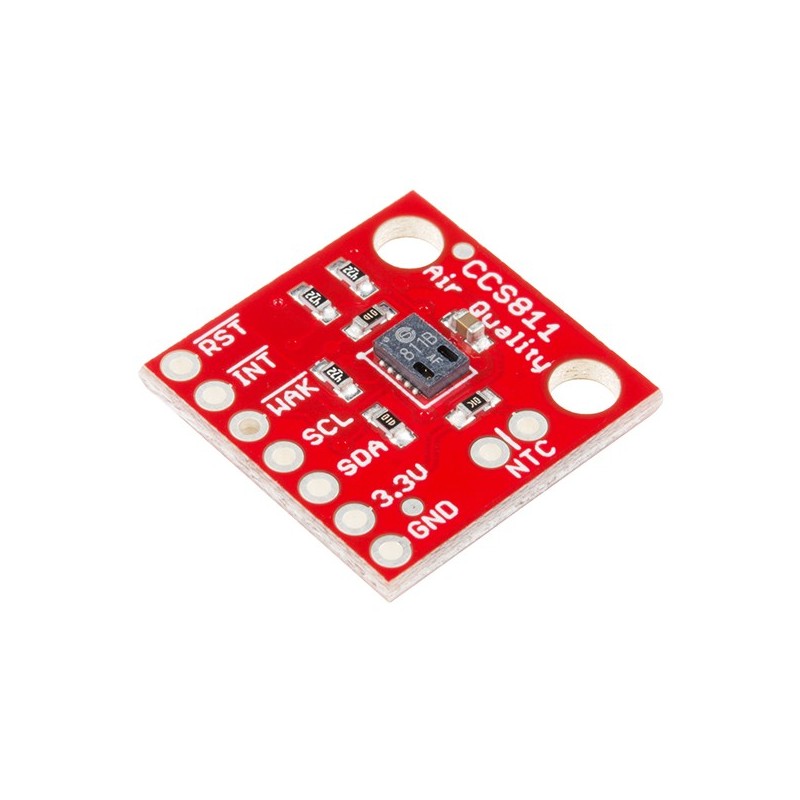
Connections available to the user are shown on the top side

Jumpers are available on the bottom
| Pin | Description | Direction |
|---|---|---|
| RST | Reset (active low) | In |
| INT | Interrupt (active low) | Out |
| WAK | Wake (active low) | In |
| SCL | Clock | In |
| SDA | Data | In |
| 3.3V | Power | In |
| GND | Ground | In |
| NTC (2 pins) | Negative thermal coefficient resistor | N/A |
The minimum required connections are power, ground SDA and SCL. Supply a regulated 3.3V between the board’s 3.3V pin and ground terminals. The sensor consumes an average of 12mA of current.
The I2C bus has pull-up resistors enabled by default. If not desired, these can be removed by separating the “I2C PU” triple jumper on the bottom side with a hobby knife.
An I2C address can be either 0x5A or 0x5B. The “ADDR” jumper is connected with copper from the factory, corresponding to a default address of 0x5B. Separate this jumper to use the address 0x5A.
Additionally, the three control lines RST, INT and WAK can be used to further the degree of control.
A thermistor can be used to determine the temperature of the CCS811’s surroundings, which can be used to help compensate the readings. You’ll need your own 10K NTC thermistor, such as our 10K Thermistor, soldered between the “NTC” pins. A thermistor is a nonpolarized device, so it can go in either way.
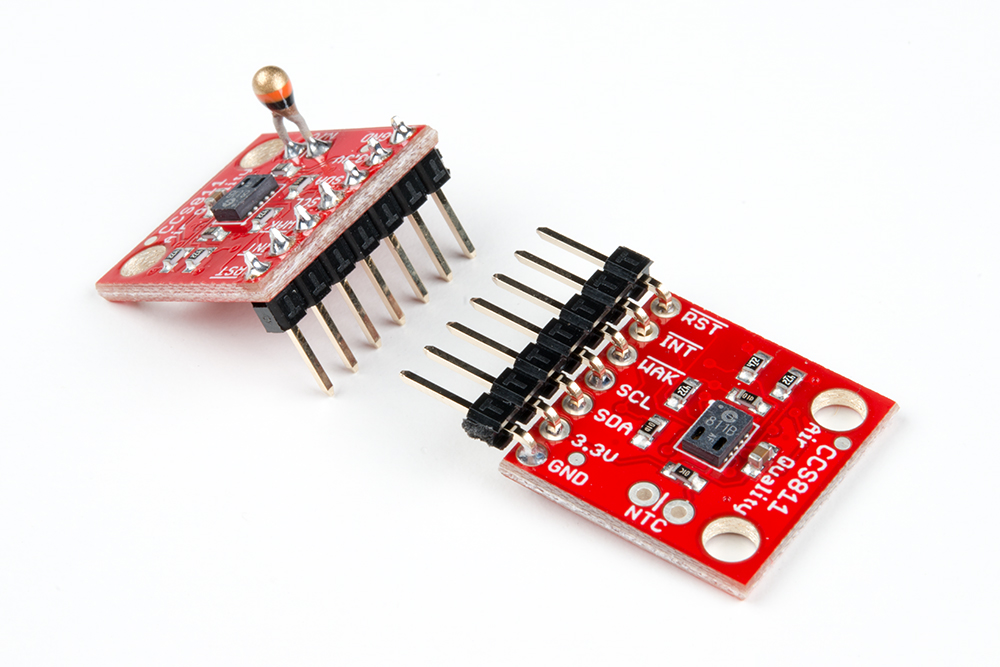
To prepare the sensor for the examples, attach seven pins from a Break Away Header to the through holes. Even though we only need the four I2C pins, we’ll populate all of them for this guide in case we want to try them out.
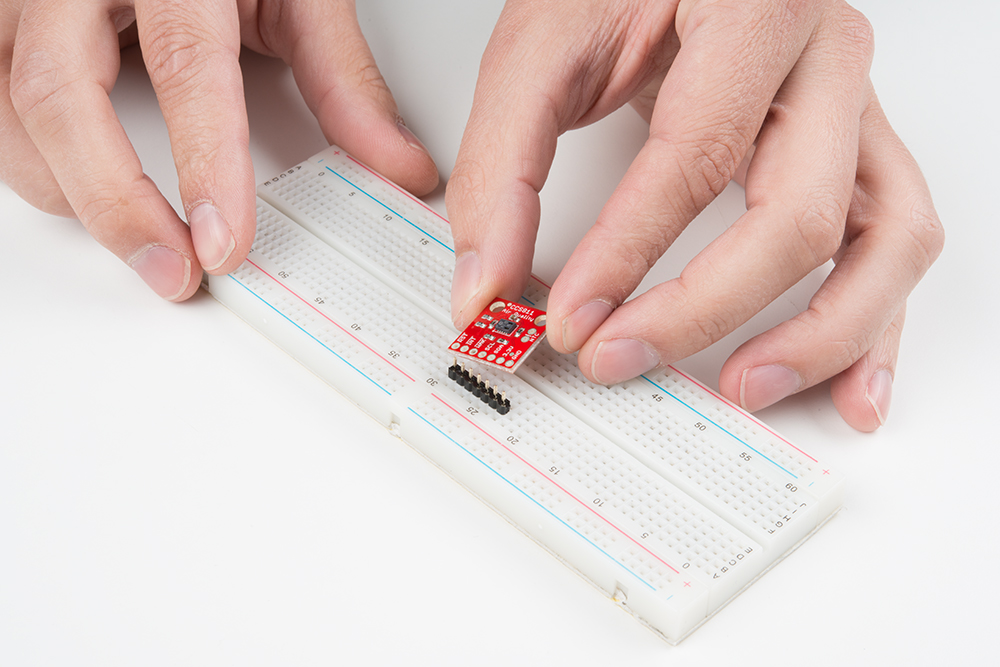
Place the strip of seven pins in a breadboard.

Solder a single pin and then check that the board is square to the pins.
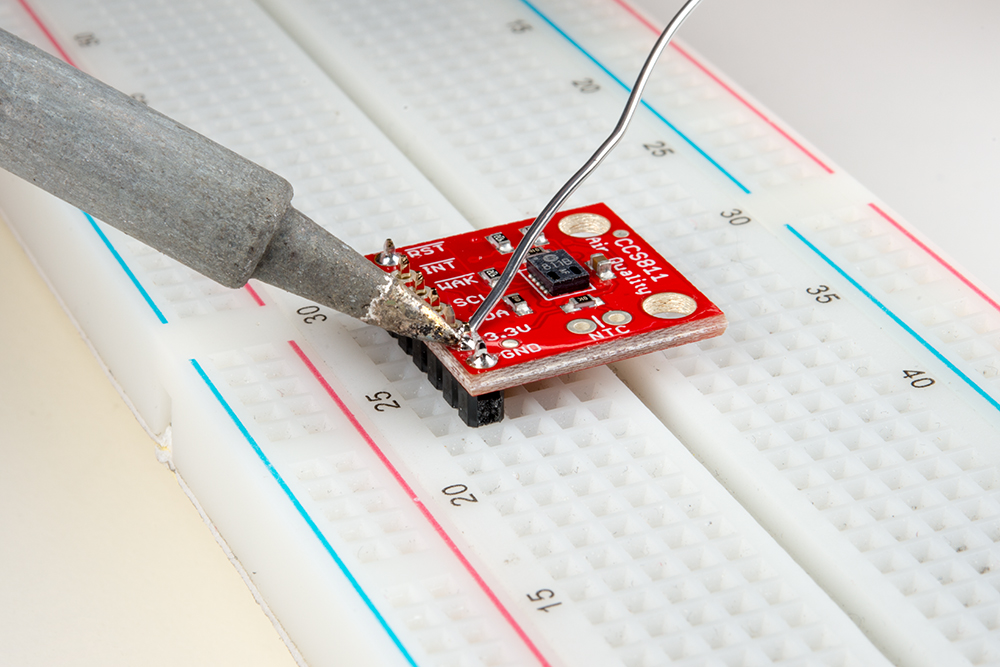
Solder the remaining pins.
If you would like to use a thermistor to compensate for temperature, solder in a 10K Thermistor (Vishay part number NTCLE100E3103JB0).
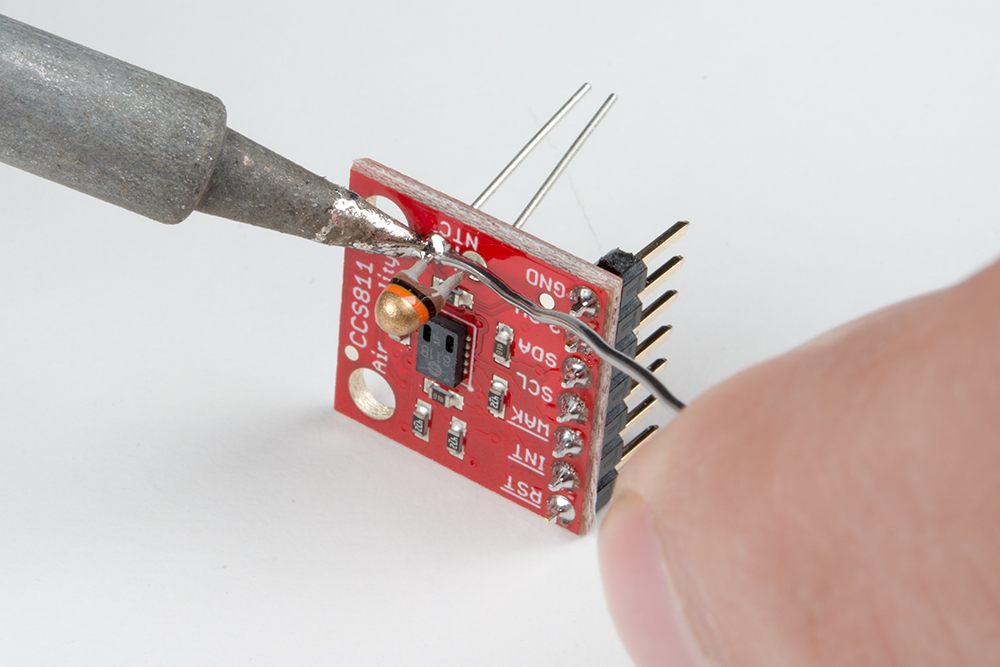
Attaching an NTC thermistor
You’re ready to start communicating with the CCS811! Here’s an example with the NTC Thermistor populated, and one using right-angle headers instead.
To get the Arduino library, download from GitHub or use the Arduino Library Manager.
Download the GitHub repository
Visit the GitHub repository to download the most recent version of the library, or click the button below:
Use the Library Manager or install in the Arduino IDE
For help installing the library, check out our Installing an Arduino Library tutorial.
If you don’t end up using the manager, you’ll need to move the SparkFun_CCS811_Arduino_Library folder into a libraries folder within your Arduino sketchbook. If you downloaded the zip, you can remove “master” from the name, but it’s not required.

Produtos Associados


O CCS811 Air Quality Breakout é um sensor de gás digital que detecta uma ampla gama de Compostos Orgânicos Voláteis (TVOCs), incluindo níveis de dióxido de carbono (eCO2) e óxido de metal (MOX).