DESCRIÇÃO EM PORTUGUÊS BREVEMENTE DISPONÍVEL
Se tiver alguma dúvida neste produto não hesite em contactar-nos.
*Atenção: as imagens são meramente ilustrativas.
For revisions under Rev2.1:
Rev2.1 New Features:
|
mini PC |
Driver |
Image |
|---|---|---|
|
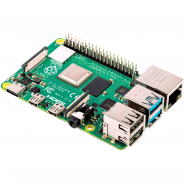
Raspberry Pi B |
Raspbian |
Raspbian |
|
Raspberry Pi A+ |
Raspbian |
Raspbian |
|
Raspberry Pi B+ |
Raspbian |
Raspbian |
|
Raspberry Pi 2 Model B |
Raspbian |
Raspbian, Ubuntu, Windows 10 IoT |
|
Banana Pi |
- |
Raspbian, Lubuntu |
|
Banana Pro |
- |
Raspbian, Lubuntu |
|
BB Black |
- |
Angstrom |
Note :
Drivers can be added to your current system to support LCD display and touch control.
Images CAN NOT be used with your current system. They're stand-alone systems which support LCD display and touch control already.

Wiki : www.waveshare.com/wiki/7inch_HDMI_LCD_(C)
For more info, please check the wiki page.
|
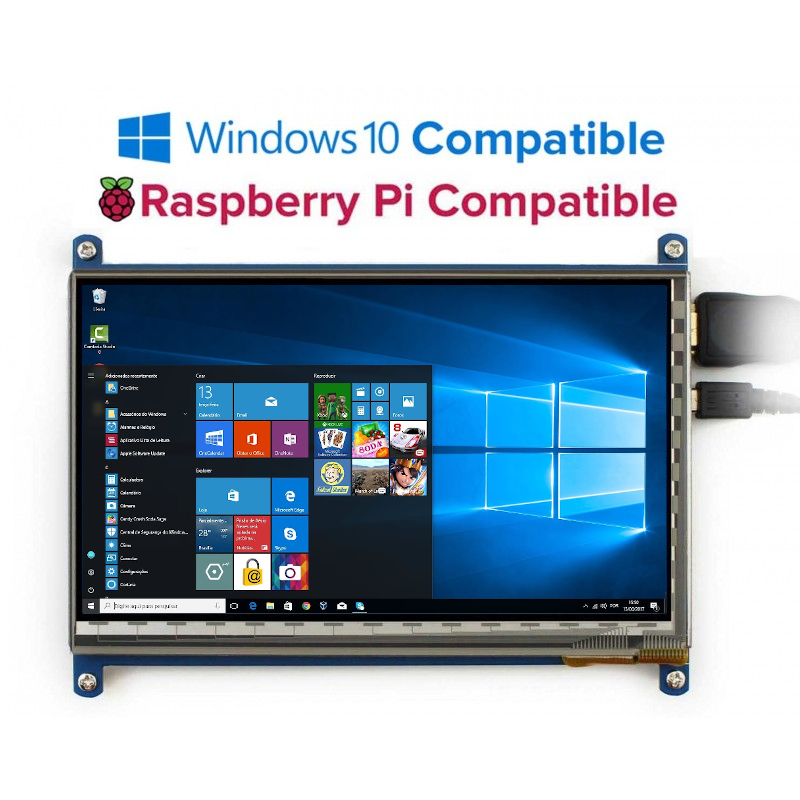
WORKING WITH RASPBERRY PI When working with Raspberry Pi, you should set the resolution of the LCD manually, or else the LCD screen will not work. 1.Turn on the "backlight" switch 2.Connect the HDMI Port of LCD to HDMI Port of Pi 3.Connect USB Port of LCD to USB Port of P4. Download the Raspbian image from Raspberry Pi website. 5.Write the image to a TF card and append the following lines to the config.txt file which locates in the root of your TF card: max_usb_current=1 You must make sure that there are no spaces on either side of the equal sign. 6.Save and connect the TF card to your Pi then power up. 【Note】 1) Make sure you have appended configure lines as above. Or the LCD could not work properly. If the LCD work in abnormal states for long time, it may destroy. 2) There is a potentiometer on the backside of LCD, at your first use, you had better adjust it for best display effect. |
|
Part Number |
Resolution |
LCD Interface |
Touch Panel Interface |
Dimension (mm) |
How you feel |
Touch Panel Type |
Feature |
|---|---|---|---|---|---|---|---|
|
3.2inch RPi LCD (B) |
320x240 |
I/O |
I/O |
As the Pi |
★★ |
Resistive |
Cheap |
|
3.5inch RPi LCD (A) |
320x480 |
I/O |
I/O |
As the Pi |
★★★ |
Resistive |
High cost performance |
|
4inch RPi LCD (A) |
320x480 |
I/O |
I/O |
95 x 61 |
★★★☆ |
Resistive |
IPS screen |
|
5inch HDMI LCD |
800x480 |
HDMI |
I/O |
121 x 78 |
★★★★ |
Resistive |
High definition |
|
5inch HDMI LCD (B) |
800x480 |
HDMI |
USB |
121 x 76 |
★★★★ |
Resistive |
High definition, supports various systems |
|
7inch HDMI LCD (B) |
800x480 |
HDMI |
USB |
165 x 107 |
★★★★☆ |
Capacitive |
High definition, supports various systems |
|
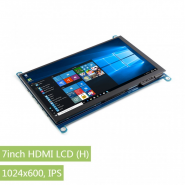
7inch HDMI LCD (C) |
1024x600 |
HDMI |
USB |
165 x 107 |
★★★★★ |
Capacitive |
IPS screen, Ultra high definition, supports various systems |

Produtos Associados