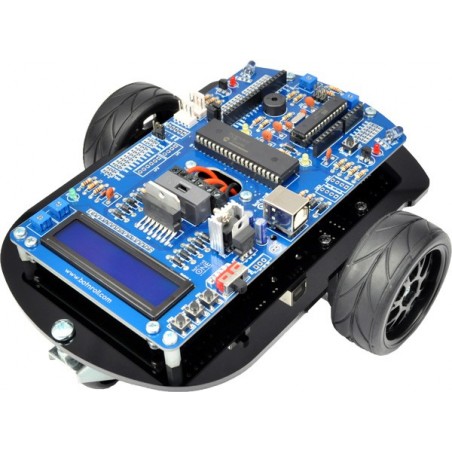


Step by step tutorial to install the USB driver for Bot'n Roll ONE A
This tutorial explains all necessary steps to connect Bot'n Roll ONE A to a computer using an USB port. Also explains how to upload a sketch to the robot using Arduino IDE software.
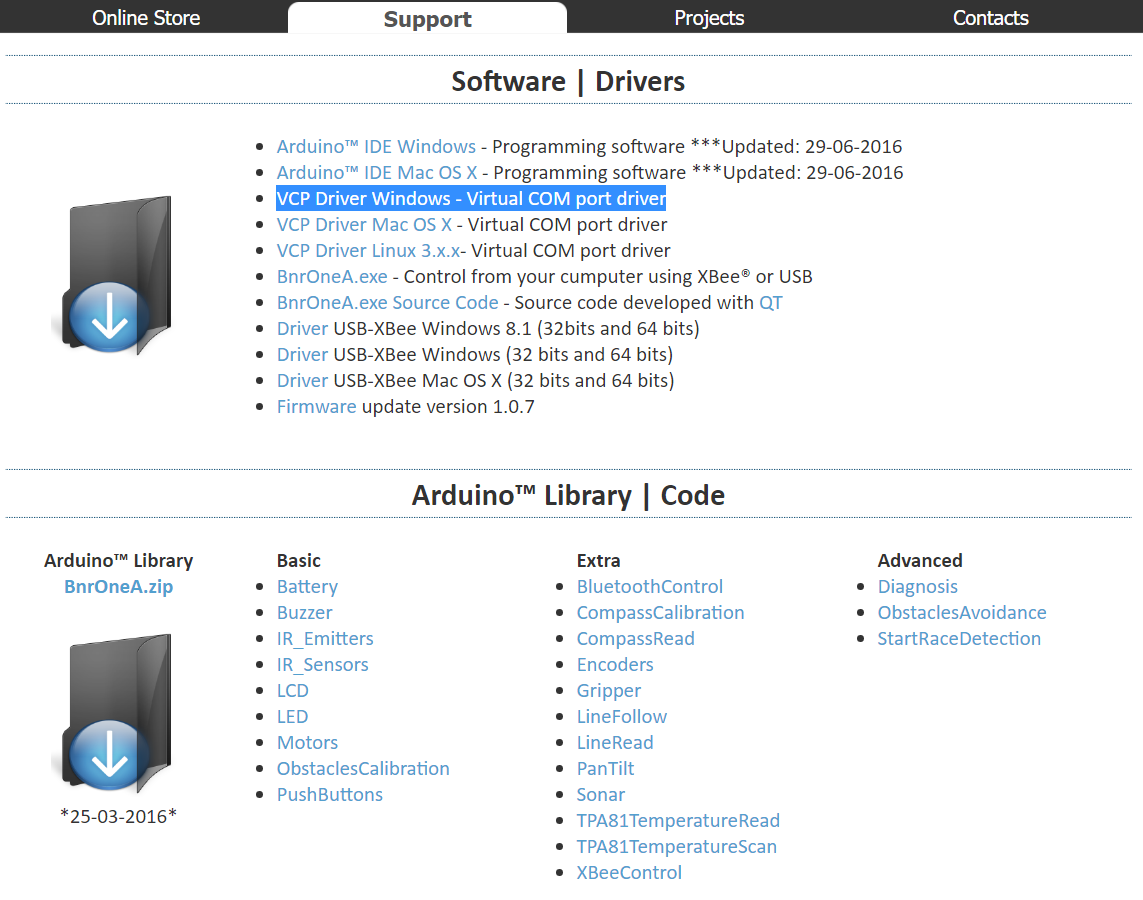
Step 1: Go to the robot's support page http://botnroll.com/onea_en/
Step 2: Download the software
VCP Driver Windows - Virtual COM port driver
Step 3: Install the VCP driver software, Virtual COM Port for communication between the robot and the computer

Step 4: Open the Arduino IDE software and on "Tools" select the board "Arduino Uno"

Step 5: Select the COM port that was defined for communication with Bot'n Roll ONE A

Passo 6: Open the "Blink" example and upload the sketch to the robot

Passo 7: Verify that the "L" LED on Bot'n Roll ONE A is blinking every 1 second. Welcome to botnroll.com world!

Step by step tutorial to install the USB driver for Bot'n Roll ONE A
