-
MenuBack
-
Menu
-
Arduino & Raspberry & Micro:bit
-
-
-
-
-
Controller Boards
-
-
-
Batteries
-
Components & TOOLS
-
-
e-Textil
-
-
-
Interruptores & Botões
-
-
-
Sound and Audio
-
-
-
Comunication & Smart Home
-
-
LCD + Matrix + Keypad
-
-
Power Sources and Renewable Energy
-
-
-
RENEWABLE ENERGY
-
-
-
3D Printing & DRONES
-
-
Informática
-
-
Informática
-
-
-
Motors and Relays
-
-
Oficina & Equipamentos
-
-
Oficina & Equipamentos
- Cable ties
- Pliers and Wrenches
- Breadboards
- Drills and Milling Cutters
- Storage Boxes
- Electronics boxes
- Bench Equipment
- Tool Cases & Kits
- Heat shrink sleeve
- Multimeters
- Oscilloscope
- Screws and Spacers
- PCB Copper
- End-Sleeves
- IC Programmers
- Personal Protection
- Protoboards
- Soldering
- Spray and Conductive Paint
- DIN Rail Supports
- Others
-
-
-
ROBOTICS
-
-
Sensors
-
-
- Catalog
- New Products
- On Sale
- Tutorials
- Contact
Resistive Touchscreen Overlay - 7" diag. 165mm x 105mm - 4 Wire
-
DESCRIPTION
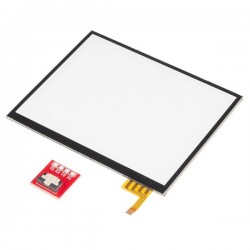
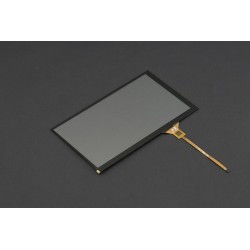
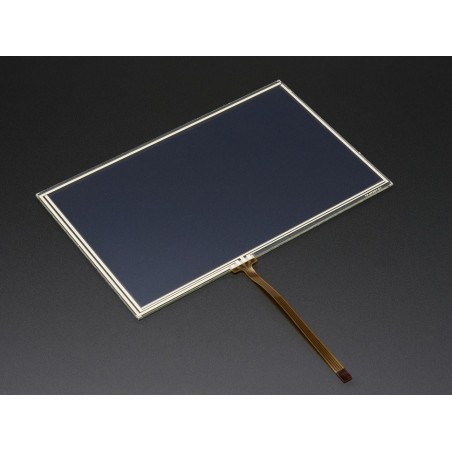
If you already have a 7" TFT that is about 165mm x 105mm in size (with a visible area equal to or smaller than 152mm x 91mm), you can put this glass resistive overlay over it to add a resistive touch screen.
To use, first remove the protective plastic wrap from both sides. Attach to your touchscreen controller (we suggest our AR1100 USB touch adapter if you need USB mouse interface, or the STMPE610 breakout for I2C/SPI) and test to make sure the screen works over all - remember that only one side will work for touch, so flip it over if you can't get it working. Once you know which way is up, and you've got the touch screen talking to your controller, use double-sided tape to attach it to your screen, carefully lining up the outer edges.Resistive Touchscreen Overlay - 7" diag. 165mm x 105mm - 4 Wire (12:08)
-
TECHNICAL DETAILS
- Outer Dimensions: 165mm x 105mm / 6.5" x 4"
- Inner Dimensions: 151mm x 91mm - make sure your screen visible area is equal or smaller than this number!
- Weight: 55 g
Related products