- DISCONTINUED


If you have any questions on this product please feel free to contact us.
*Disclaimer: The images are merely illustrative.
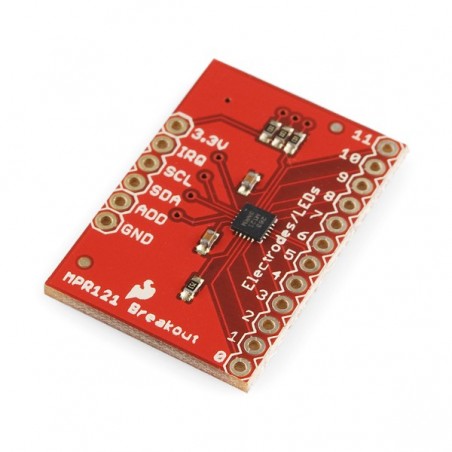
Description: This is a breakout board for Freescale’s . The MPR121 is a capacitive touch sensor controller driven by an I2C interface. The chip can control up to twelve individual electrodes, as well as a simulated thirteenth electrode. The MPR121 also features eight LED driving pins. When these pins are not configured as electrodes, they may be used to drive LEDs.
There a four jumpers on the bottom of the board, all of which are set (closed) by default. An address jumper ties the ADD pin to ground, meaning the default I2C address of the chip will be 0x5A. If you need to change the address of the chip (by shorting ADD to a different pin), make sure you open the jumper first. Jumpers also connect SDA, SCL and the interrupt pin to 10k pull-up resistors. If you don’t require the pull-up resistors you can open the jumpers by cutting the trace connecting them.
There is no regulation on the board, so the voltage supplied should be between 2.5 and 3.6VDC. The VREG pin is connected through a 0.1uF capacitor to ground, which means, unless you modify the board, you can’t operate the MPR121 in low-supply voltage mode (1.71-2.75VDC).
Documents:
Related products


