Join the Arduino® community with the Bit+ x Arduino At Heart Classroom Kit. This Ozobot kit features 12 Bit+ robots with Arduino At Heart that are ready to begin coding right out of the box.
If you have any questions on this product please feel free to contact us.
*Disclaimer: The images are merely illustrative.
Includes:
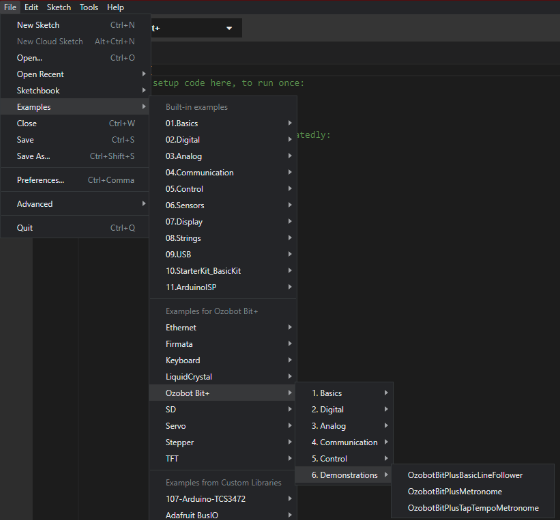
The versatility and power of Arduino® comes from the fact that it is open source. Due to the nature of open source ecosystems you’re able to design your own Arduino®-based boards and make code libraries to go along with them. Some developers even include an example library of Arduino® sketches to help you learn their functions, constants, and keywords.


Related products
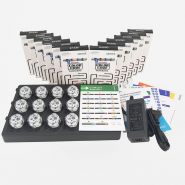
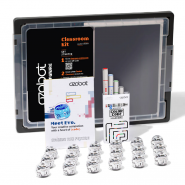

Join the Arduino® community with the Bit+ x Arduino At Heart Classroom Kit. This Ozobot kit features 12 Bit+ robots with Arduino At Heart that are ready to begin coding right out of the box.