- On sale!
- -€2.00
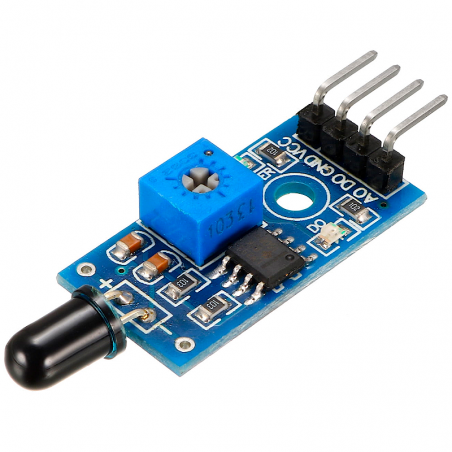


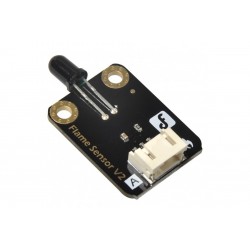
This flame sensor can out put both an analogue (real-time value) and a digital (high/low) signal.
If you have any questions on this product please feel free to contact us.
*Disclaimer: The images are merely illustrative.
The flame sensor module has a total of 4 pins. Two power pins and two signal pins. The pinout of a flame sensor module is as follows:

VCC Provides power for the module, Connect to the 5V pin of the Arduino.
GND Ground Connected to Ground pin of the Arduino.
DO Digital Output Pin.
AO Analog Output Pin.
The flame sensor module has only very few components, which include an IR photodiode, an LM393 comparator IC, and some complimentary passive components. The power LED will light up when the module is powered and the D0 LED will turn off, when a flame is detected. The sensitivity can be adjusted with the trimmer resistor onboard.

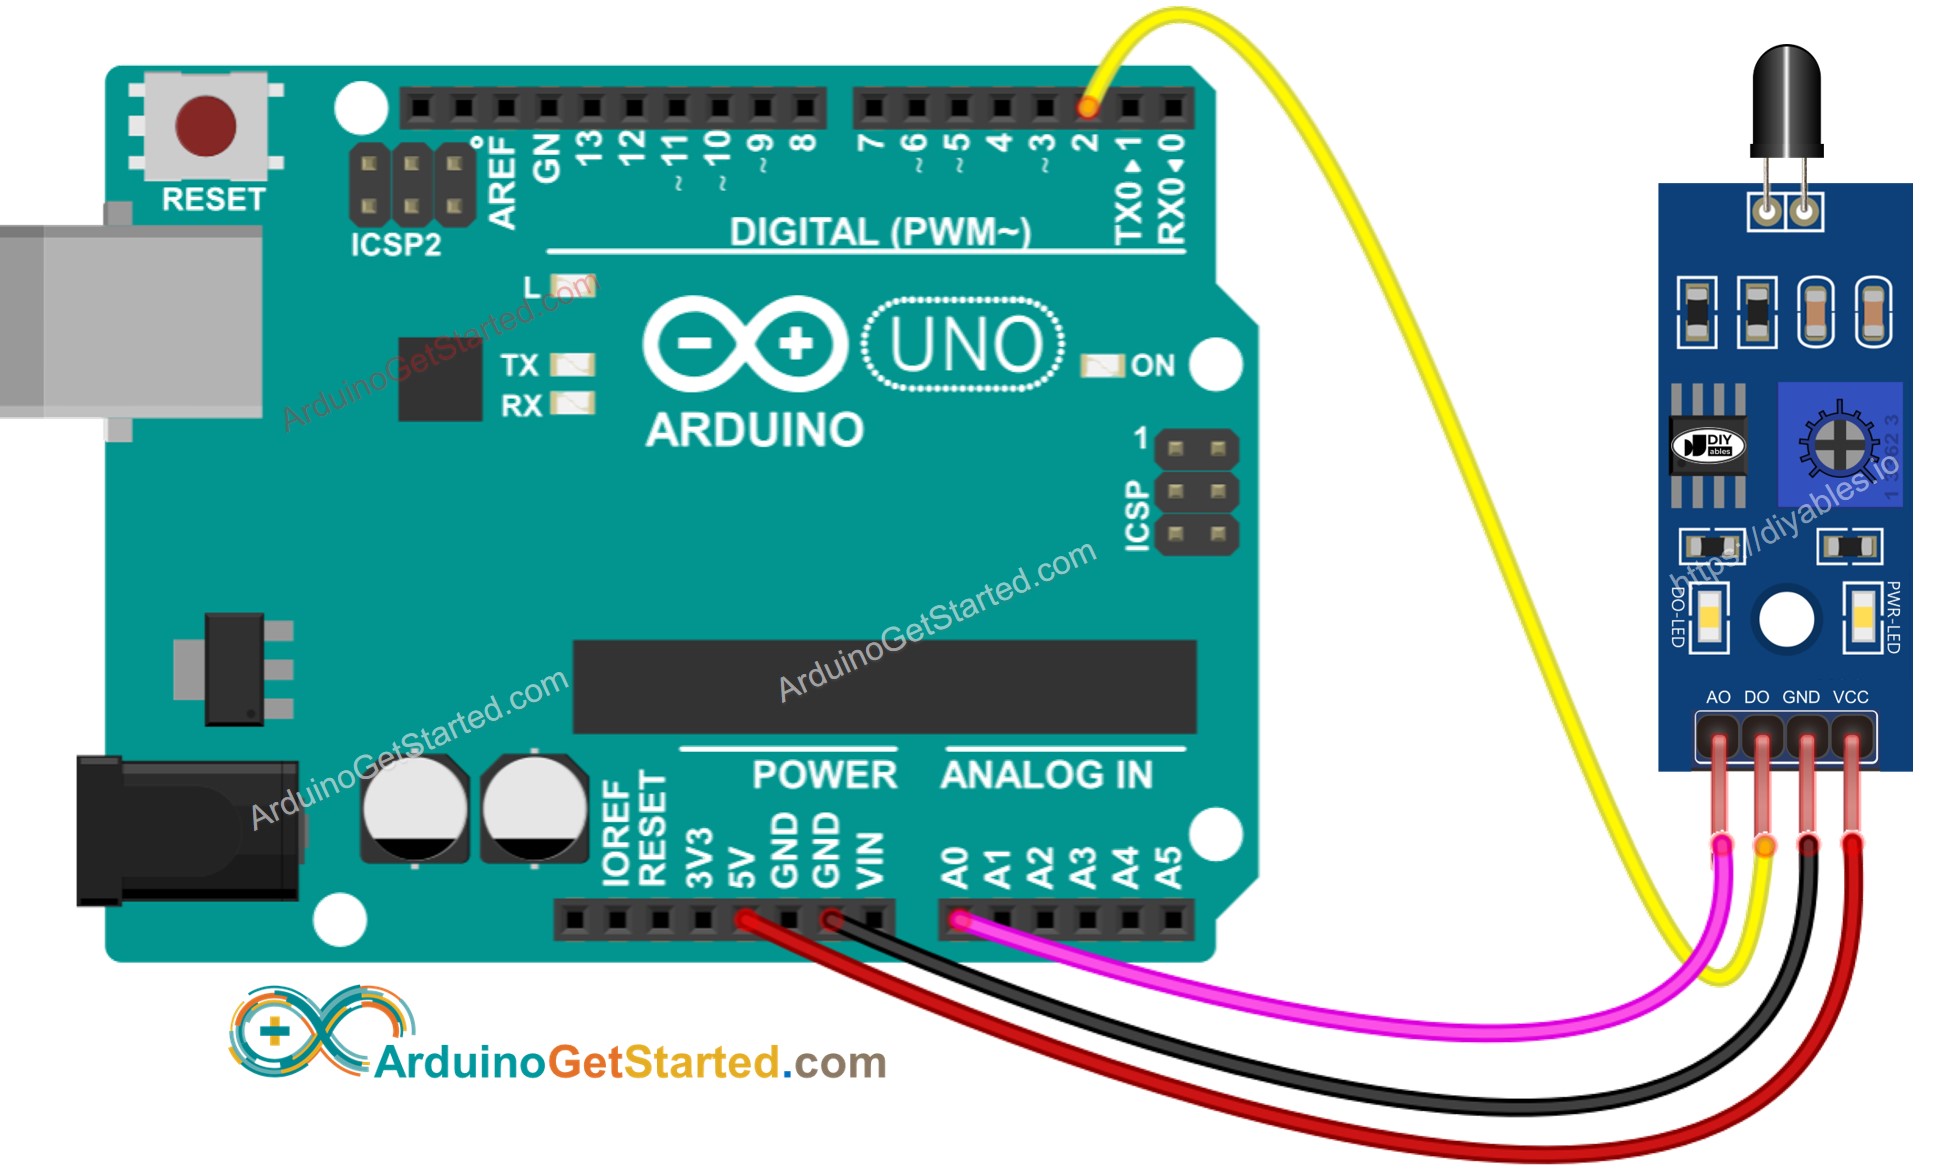
A very simple Arduino Sketch is shown below:
#define DO_PIN 2  // Arduino's pin connected to DO pin of the flame sensor

void setup() {
  // initialize serial communication
  Serial.begin(9600);
  // initialize the Arduino's pin as an input
  pinMode(DO_PIN, INPUT);
}

void loop() {
  int flame_state = digitalRead(DO_PIN);

  if (flame_state == HIGH)
    Serial.println("The flame is NOT present => The fire is NOT detected");
  else
    Serial.println("The flame is present => The fire is detected");
}
#define AO_PIN A0  // Arduino's pin connected to AO pin of the flame sensor

void setup() {
  // initialize serial communication
  Serial.begin(9600);
}

void loop() {
  int flameValue = analogRead(AO_PIN);

  Serial.println(flameValue);
}
Related products

This flame sensor can out put both an analogue (real-time value) and a digital (high/low) signal.

