

The Kitronik ZIP Tile is an 8 x 8 display panel for the BBC micro:bit. It can scroll text, show all the colours of the rainbow (and more) and multiple Tiles can be linked up to make even bigger displays!
NOTE: Micro:bit board is not included!
If you have any questions on this product please feel free to contact us.
*Disclaimer: The images are merely illustrative.
The Kitronik ZIP Tile is an 8 x 8 display panel for the BBC micro:bit. It can scroll text, show all the colours of the rainbow (and more) and multiple Tiles can be linked up to make even bigger displays!
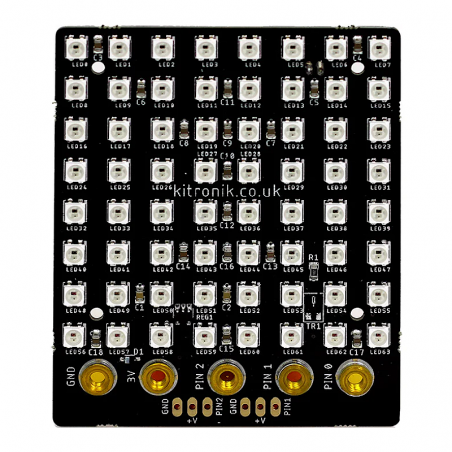
It features 64 colour addressable LEDs arranged in an 8 x 8 grid, ZIP LED expansion points on the left, right and top of the board, and the ability to connect a BBC micro:bit with both bolts and croc clips. It also breaks out P1 & P2 to standard 0.1” (2.54mm) footprints. Each of these pins also have the required supply voltage and GND pads.
Power is provided via a JST connector on the rear of the board. The board produces a regulated supply that is fed into the 3V and GND connections to power the connected BBC micro:bit, removing the need to power it separately. To protect the BBC micro:bit if power is supplied through it, the ZIP LEDs will not illuminate.
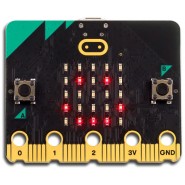
To use the ZIP Tile, the BBC micro:bit needs to be connected to at least the GND, 3V and Pin 0 connections on the ZIP Tile. The BBC micro:bit can be connected via board-mounted nuts and M3 bolts (make sure the provided spacer is placed between the BBC micro:bit and the ZIP Tile if connecting on the rear), or croc clips. See Datasheet for detailed images. The Tile is supplied with 5 M3x12 countersunk screws and 5 plastic spacers. These are used to attach the BBC micro:bit to the ZIP Tile, with the spacers going in-between the Tile and BBC micro:bit.
Coding: We have produced a set of custom blocks for the MakeCode Editor to make the job of coding for them as simple as possible. To add these blocks to the editor; click on the cog icon in the editor, select Extensions, type and enter Kitronik into the search bar and select the ZIP Tile option. The blocks will now be added to the menu in the editor.
The ZIP Tile is an 8 x 8 display panel for the BBC micro:bit.
Featuring 64 addressable full-colour LEDs.
It has ZIP LED expansion points on the left, right and top of the board that allow for making larger displays.
Connect to a BBC micro:bit with both bolts (supplied) and croc clips.
It also breaks out P1 & P2 to standard 0.1” (2.54mm) footprints.
To protect the BBC micro:bit if power is supplied through it, the ZIP LEDs will not illuminate.
We have developed custom code blocks for the MakeCode Editor.
1 x ZIP LED Tile.
5 x M3 Countersunk Screws.
5 x Plastic Spacers.
A power supply of between 3.5V and 5.3V.
To use the example code; download the file and unzip/extract. Connect a micro:bit to a spare USB port on your computer. The micro:bit should now show up as a removable disk onto which you can drag and drop the .HEX file that you extracted from the zip file. Once the light on the rear of the micro:bit stops flashing, the transfer is complete and the program can now be run. Try experimenting with the A and B buttons on the micro:bit. You can also drag and drop the file into the MakeCode editor, where you can look at or edit the code.
Related products

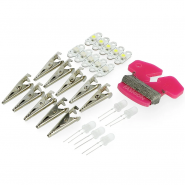

The Kitronik ZIP Tile is an 8 x 8 display panel for the BBC micro:bit. It can scroll text, show all the colours of the rainbow (and more) and multiple Tiles can be linked up to make even bigger displays!
NOTE: Micro:bit board is not included!

