- On sale!
- -10%


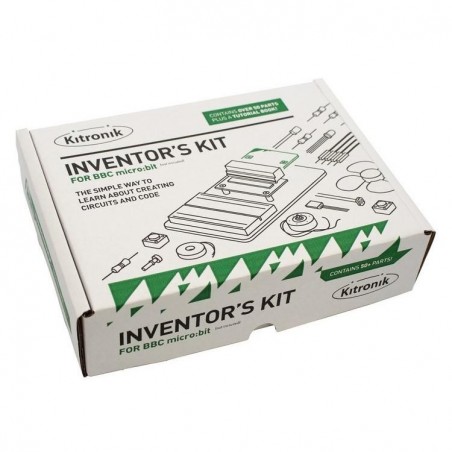
The Kitronik Inventor's Kit for the micro:bit is a great way to get started with programming and hardware interaction with the micro:bit. This Inventor's Kit contains everything you need to complete 10 experiments including using LEDs, motors, LDRs, and capacitors. BBC micro:bit board not included
If you have any questions on this product please feel free to contact us.
*Disclaimer: The images are merely illustrative.
To get you off to a flying start, Kitronik have included an easy to follow tutorial book which guides you through everything you will need to know about programming the micro:bit. You don't need any experience with programming as the tutorial book will guide you every step of the way. You'll be programming and creating circuits in no time!
The Kitronik Inventor's Kit for the micro:bit provides a fantastic way of learning how to construct and control electronic circuits. The micro:bit has a selection of pins that are located on the bottom edge of its PCB (see datasheet below for details). By using the specially designed edge connector board for the micro:bit in conjunction with the breadboard (see below), it is easy to use these pins to connect additional components to the micro:bit.
No soldering is required and you can build your first circuit in minutes!
Note:
Features:
All of the experiments included in this booklet (listed below) are based on the Microsoft BlockEditor and Microsoft TouchDevelop editor software.
Experiments included in the tutorial book:
Contents:
Requires:
Related products


The Kitronik Inventor's Kit for the micro:bit is a great way to get started with programming and hardware interaction with the micro:bit. This Inventor's Kit contains everything you need to complete 10 experiments including using LEDs, motors, LDRs, and capacitors. BBC micro:bit board not included

