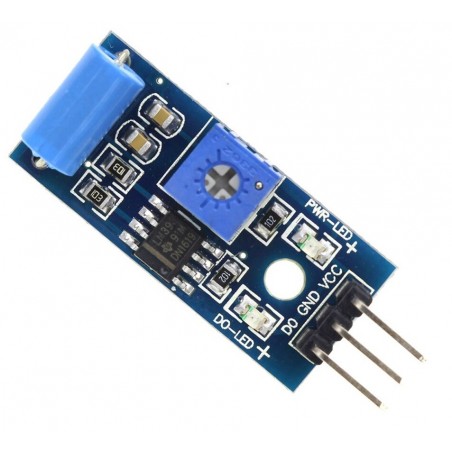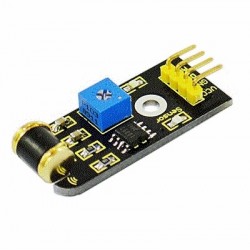


This module can detect vibration. In the blue component on the module there is a rod that no longer touches the housing when there is a vibration on the component.
The sensitivity can be set with the potentiometer.
If you have any questions on this product please feel free to contact us.
*Disclaimer: The images are merely illustrative.
This module can detect vibration. In the blue component on the module there is a rod that no longer touches the housing when there is a vibration on the component.
The sensitivity can be set with the potentiometer.
Pin description:
Connect Vcc pin of sensor board to 5V pin of Arduino board, connect Gnd pin to Gnd pin of Arduino, Connect DO output signal pin of sensor board to Arduino digital pin D3. Do some calibration and adjust the sensitivity threshold, then upload the following sketch to Arduino board.
Arduino Code for Logic State Output from sensor module, here onboard LED of Arduino indicates the presence of vibration.
int vibr_pin=3;
int LED_Pin=13;
void setup() {
  pinMode(vibr_pin,INPUT);
  pinMode(LED_Pin,OUTPUT);
}

void loop() {
  int val;
  val=digitalRead(vibr_pin);
  if(val==1)
  {
    digitalWrite(LED_Pin,HIGH);
    delay(1000);
    digitalWrite(LED_Pin,LOW);
    delay(1000);
   }
   else
   digitalWrite(LED_Pin,LOW);
}
Arduino Code for Value Reading and serial printing Vibration value, this code turns ON the onboard LED when measurement goes greater than 1000, you can adjust this threshold to your need.
int LED_Pin = 13;
int vibr_Pin =3;

void setup(){
  pinMode(LED_Pin, OUTPUT);
  pinMode(vibr_Pin, INPUT); //set vibr_Pin input for measurment
  Serial.begin(9600); //init serial 9600
 // Serial.println("----------------------Vibration demo------------------------");
}
void loop(){
  long measurement =TP_init();
  delay(50);
 // Serial.print("measurment = ");
  Serial.println(measurement);
  if (measurement > 1000){
    digitalWrite(LED_Pin, HIGH);
  }
  else{
    digitalWrite(LED_Pin, LOW);
  }
}

long TP_init(){
  delay(10);
  long measurement=pulseIn (vibr_Pin, HIGH);  //wait for the pin to get HIGH and returns measurement
  return measurement;
}
Screenshot
Related products


This module can detect vibration. In the blue component on the module there is a rod that no longer touches the housing when there is a vibration on the component.
The sensitivity can be set with the potentiometer.


