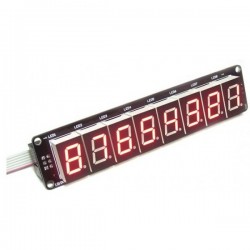


Clock Module for Arduino / Funduino - TM1637
- Voltage 3.3v or 5v
- Display with segments red color
If you have any questions on this product please feel free to contact us.
*Disclaimer: The images are merely illustrative.
A few of the code examples and projects on this site use modules containing the Tm1638 driver chip, I was interested in this one which is the TM1637 which appears to be a more basic version which can only control a display, the other one can also control LEDs, buttons and two displays at the same time.
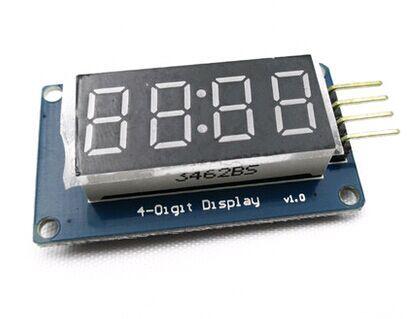
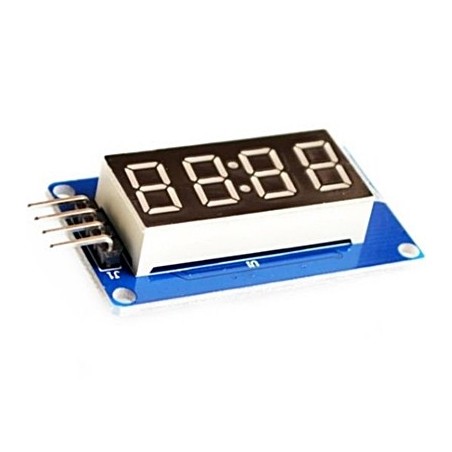
This is a common anode 4-digit tube display module which uses the TM1637 driver chip; Only 2 connections are required to control the 4-digit 8-segment displays
Here is the module
Features of the module
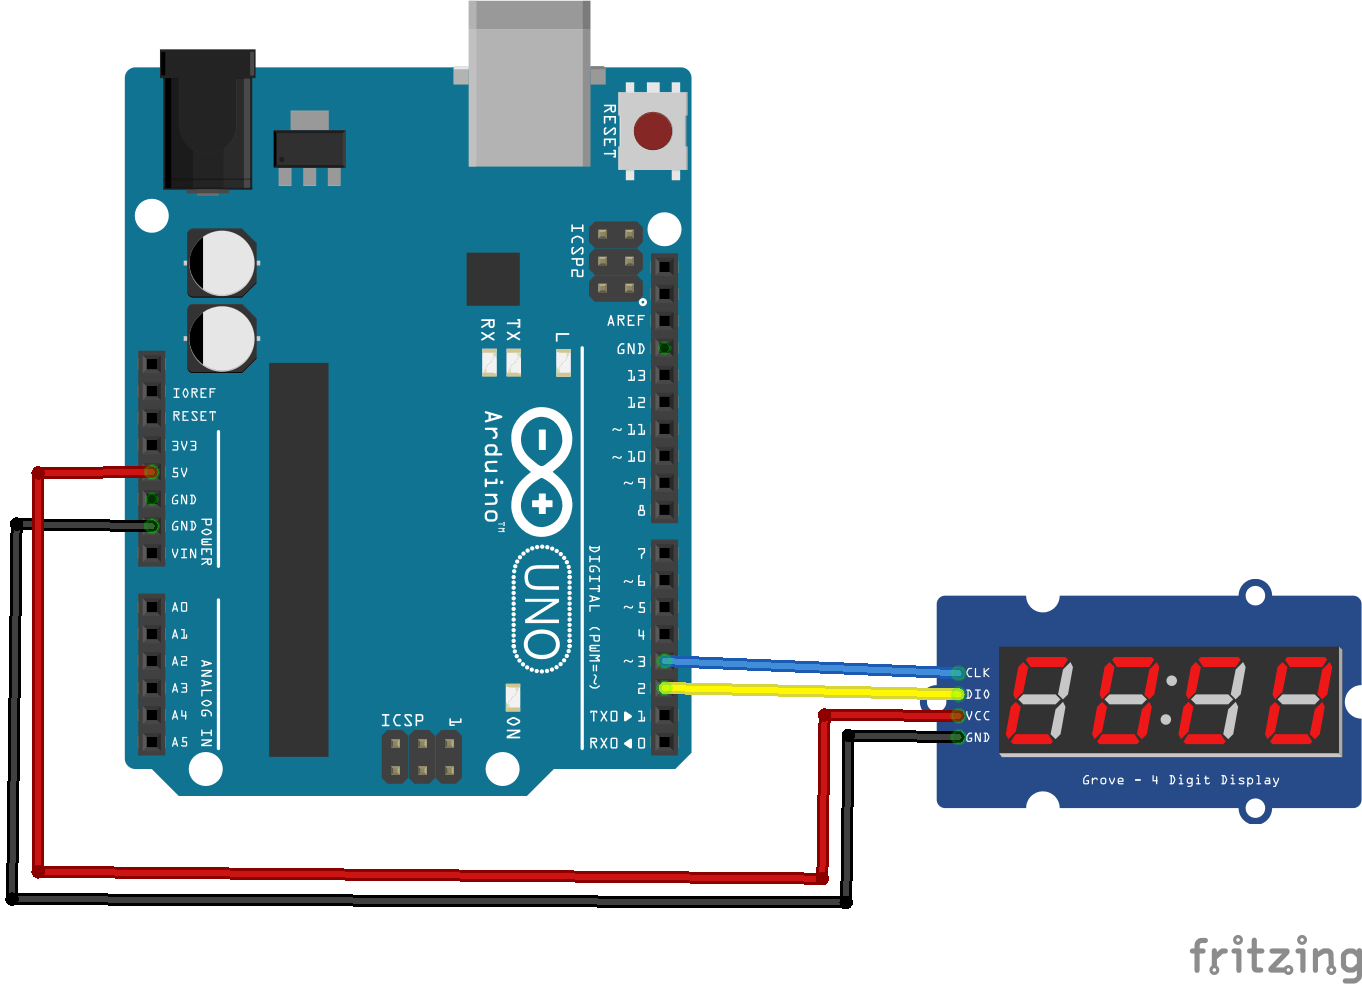
Here is how to hook the module up
Code Example
There is a library for this IC, you can get it from https://github.com/avishorp/TM1637 , as usual there is a built in example but here is a simple sketch
#include <TM1637Display.h>

const int CLK = 3; //Set the CLK pin connection to the display
const int DIO = 2; //Set the DIO pin connection to the display

int numCounter = 0;

TM1637Display display(CLK, DIO); //set up the 4-Digit Display.

void setup()
{
display.setBrightness(0x0a); //set the diplay to maximum brightness
}


void loop()
{
for(numCounter = 0; numCounter < 1000; numCounter++) //Iterate numCounter
{
display.showNumberDec(numCounter); //Display the numCounter value;
delay(1000);
}
}
Related products

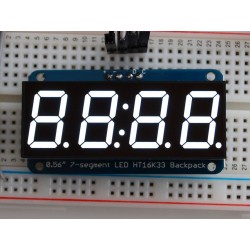
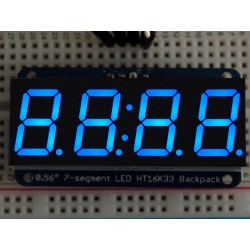
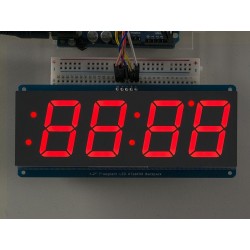

Clock Module for Arduino / Funduino - TM1637
- Voltage 3.3v or 5v
- Display with segments red color
